May 06, 2024 (3 months ago)
TiviMate Companion Windows (Install via Emulator)
Many of you are searching for the best ways to download TiviMate companion on your Windows PC. Even though TiviMate is not yet available for Windows, there is a trick to make it work on your computer.
The companion app allows you to manage your paid subscriptions and linked devices on a clear widescreen; PC lovers can truly understand the peace of mind that you get with a hassle-free simplified setup.
Similarly, most iOS users don’t have access to Android phones but own a computer. So, they seek to unlock the excellent abilities of TiviMate on Windows without being dependent on the Android app.
However, one of the biggest challenges you might encounter in-app installation on the operating system is the lack of proper know-how of its procedure and specifications. Therefore, a lot of users face unsupported files, rough app functionality, glitches and crashes. But there’s no need to worry about that anymore.
We are going to help you solve all your issues with the TiviMate companion Windows. This article will walk you through the step-by-step process of an amazing approach and answer your most asked concerns in the end. So, let’s start exploring everything!
How to Get TiviMate Companion on Windows through Bluestacks?
You can use the TiviMate companion app on your PC through BlueStacks.
BlueStacks is by far the most recommended and reliable software to download on your PC to access the TiviMate companion app. It’s an android emulator that enables the android applications to perform on the computer. This is the complete procedure of using TiviMate through BlueStacks;
- Go to the Bluestacks official website, download the setup file and install it.
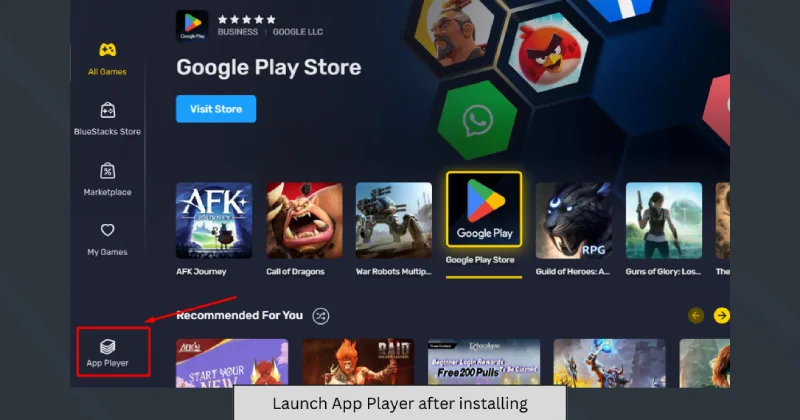
- Once installed, open the Bluestacks X and launch the app player.
- Now Go to Google Playstore and sign in with your Google account.
- Search the “TiviMate Companion” on Playstore and install it.
- Once installed you can open the app and setup it.

Additionally, you can also install TiviMate Companion through Bluestacks by sideloading the APK file.
Now, you can purchase the premium or lifetime subscription plan. BlueStack X works on a variety of systems and versions. You may not stumble across any problem in the above-given stages as long as your device is compatible.
Minimum System Requirements for BlueStack X
Before you begin installing the Bluestacks make sure your system meet the following requirements:
- Operating System: Windows 7 or above
- Processor: Intel or AMD Multi-core (Single thread benchmark score above 1000)
- RAM: at least 2GB
- Hard Disk Drive: 5GB Free space
- Graphics: latest updated graphics from Microsoft or the chipset vendor
FAQs
How to Purchase TiviMate Premium Without Android on a PC?
You can buy the TiviMate player’s annual or one-time subscription by setting up an Android emulator on your PC. Just download an emulator and install the companion app, and you’re good to go. An exception emulator is BlueStacks. Nevertheless, there are other emulators, like MEMu Play and NoxPlayer.
Can I Use TiviMate Companion on Mac?
Yes, you can get the TiviMate companion app on an intel-based Mac using BlueStacks. Make sure you have a Google account to run the app on your Apple device. The required specifications are macOS 10.12 or higher, OS architecture 64-bit, Intel HD graphics 5200 or above, 4GB RAM and 8GB Hard disk drive.
Last Updated: